100% Eddy Current and Ultrasonic Testing: What It Proves
Eddy current and ultrasonic testing are the two methods behind a mill's claim of 100% inspection on steel tube, and the percentage measures coverage rather than certainty. Every metre passes a coil or a probe, yet…

Eddy current and ultrasonic testing are the two methods behind a mill’s claim of 100% inspection on steel tube, and the percentage measures coverage rather than certainty. Every metre passes a coil or a probe, yet what the scan proves depends on the reference defects used to set the alarm, the orientation of the flaw, and whether the method can reach it at all. Eddy current testing reads the surface and near-surface wall. Ultrasonic testing reads the wall volume. Run together, with a calibrated reference tube and recorded drift checks, they cover the failure modes that matter in hydraulic, boiler and structural service.
What 100% Inspection Actually Covers
A 100% inspection line scans the full length and the full circumference of every tube. It does not scan every conceivable defect, and that gap decides how much weight the inspection record can carry. Detection depends on the defect type, its orientation relative to the coil or the beam, its size compared with the reference defect that set the alarm, and the condition of the tube surface as it passes the sensor.
Tube ends deserve their own sentence. Coils and probes are least reliable in the first and last few centimetres, where the field or the beam runs off the end of the material. Most mills handle this by cropping the ends or re-checking them separately. A buyer who needs the full length tested should write that requirement into the purchase order instead of assuming it.
Line speed is the quiet variable. A coil that responds in milliseconds can keep pace with a fast drawbench. A probe that needs a clean echo train to resolve a small indication cannot. Raising line speed without re-qualifying the setup leaves the coverage figure at 100% while detection quietly falls. That is why the calibration check at the end of a run matters as much as the one at the start.
How Eddy Current Testing Reads the Surface
An alternating current in a coil induces eddy currents in the tube wall. A seam, lap, crack or pit distorts those currents, the coil impedance shifts, and the instrument compares the shift against a threshold set from a reference tube. The physics is simple enough. The difficulty is that carbon and low alloy steels are ferromagnetic, and permeability changes from stress, composition or cold work can produce a signal larger than the defect itself. Testing is therefore carried out under magnetic saturation, the technique described in ASTM E309 [1].
That buys a stable baseline and good sensitivity to surface-breaking and near-surface discontinuities. It also buys speed, because the coil needs no couplant and can ride a moving tube without touching it. What it does not buy is depth. Eddy currents concentrate near the surface, so an internal seam or a mid-wall lamination sits outside the method’s reach. Surface condition matters as well. Mill scale, heavy rust or a dragging, wet coil lifts the sensor off the wall and costs sensitivity in a way that never shows up on the certificate.
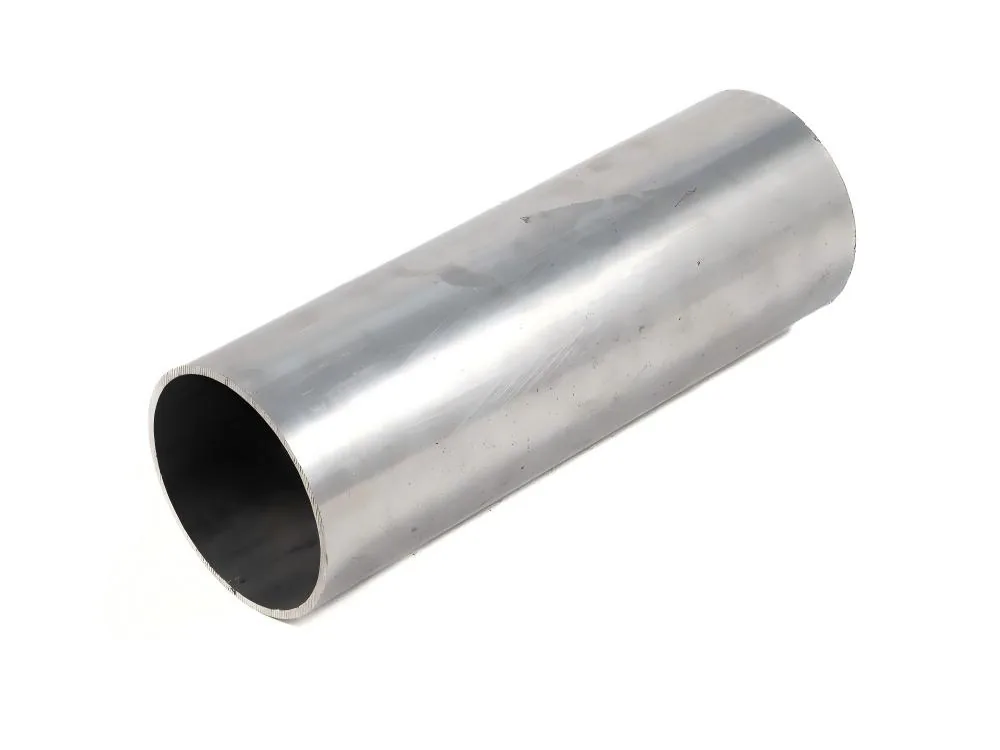
How Ultrasonic Testing Reaches Inside the Wall
Ultrasonic testing sends a short pulse into the wall and times the echoes. A straight beam returns the outside surface, the inside surface and anything in between, which gives wall thickness and reveals laminations and inclusions. An angled beam, refracted at a chosen angle, picks up longitudinal or transverse defects depending on how the probe is oriented. Water or gel carries sound between probe and steel; a dry probe couples little energy into the metal. The practice-level reference for pipe and tubing work is ASTM E213 [2].
Full peripheral coverage is the engineering problem. Either the tube rotates while the probe translates, producing a helical scan, or a ring of probes covers the circumference at once. Both approaches trade speed against resolution. Two limits come with the method. There is a dead zone just under the entry surface while the pulse is still ringing, and there is a strong orientation dependence, because a defect running parallel to the beam may return almost nothing.
Welded tube adds a third case. The weld seam has its own inspection step, with probes aimed at the weld, addressed separately in ISO 10893-11 [3]. Seamless tube has no weld to track, but it carries a piercing-related seam that tends to run along the axis, which is why axial probes earn their place there.
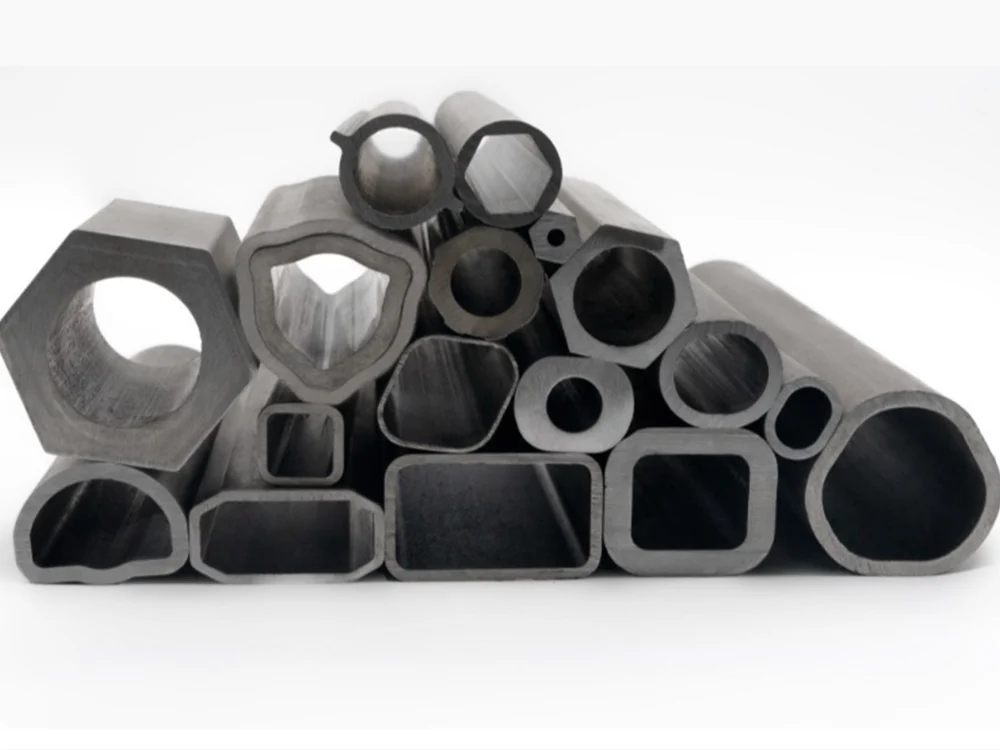
The inspection setup follows the product: a welded tube carries a weld seam that needs its own probe path, while a seamless tube carries a piercing-related seam that behaves differently under the same probe. <Seamless vs ERW Pipe: Which Is Right for Your Project?> covers how the two product routes differ and where that choice changes downstream fabrication work.
How the Inspection Sequence Runs in Practice
On Tenjan’s cold-drawn line, where the working range runs from 10 mm to 108 mm outside diameter and 1 mm to 20 mm wall, the sequence follows eight steps. The order matters as much as the equipment.
- Select the reference tube. It carries machined notches and drilled holes in defined orientations, sized to the acceptance level agreed for the order (required).
- Set the alarm threshold from that reference tube and lock the settings for the run (required).
- Confirm surface and coupling conditions. A dry, scaled surface for eddy current; a clean, wetted surface and a verified couplant path for ultrasonic (required).
- Match line speed to the response time of the coil or probe. If the instrument cannot resolve the reference defect at the planned speed, the speed comes down (required).
- Scan the full length and circumference, marking the tube whenever the alarm triggers (required).
- Re-run the reference tube at the intervals written into the procedure, and after any probe, coil or setting change (required).
- Quarantine the suspect window. If a drift check fails, every tube tested since the last good check goes back for re-test, not only the tube on the line at that moment (required).
- Re-test, re-cut or downgrade the flagged lengths, then release against the recorded result (required).
Step seven is the one buyers rarely ask about and the one that decides whether the paperwork means anything. A failed drift check without a quarantine rule produces a certificate that describes a machine state, not a batch of tube. Multi-frequency filtering, an added straight-beam thickness scan and third-party witness are useful extras (optional), but they do not replace the quarantine logic.
The testing station is one stop in a longer sequence that starts with coil chemistry and ends with packing, and the inspection result is only as good as the process upstream of it. <Steel Tube Manufacturing Process: Precision and Quality> covers how the production steps fit together and where quality checks sit in that flow.
Which Standards Govern the Scan and What They Do Not Prove
A test report almost always names a standard. Read that name as a description of a method rather than a statement about the tube in the crate.
| Document | What it covers | What it can support | Do not infer |
|---|---|---|---|
| ISO 10893-1:2011 [4] | General requirements for automated non-destructive testing of steel tubes | That a test programme is structured against a recognised framework | That any particular method reached your order |
| ISO 10893-2:2011 [5] | Automated eddy current testing of seamless and welded tube | Full-length eddy current coverage to a defined method | That internal or mid-wall defects were found |
| ISO 10893-10:2011 [6] | Automated full peripheral ultrasonic testing for longitudinal and transverse imperfections | Volumetric scanning of the tube body at a defined angle | That obliquely oriented flaws returned a detectable signal |
| ISO 10893-11:2011 [3] | Automated ultrasonic testing of the weld seam in welded tube | Weld-seam coverage separate from the parent body | That the parent metal received the same scan |
| ASTM E213 [2] | Ultrasonic testing practice for metal pipe and tubing | A method-level reference for probe selection and setup | A specific acceptance level for a purchase order |
None of these documents fixes the acceptance level on its own. The level comes from the product standard plus the purchase order, and it is expressed as a reference defect: a notch of a given depth, length and orientation, or a drilled hole of a given diameter. Two mills can both test to ISO 10893-2 and still accept different tubes, because the reference defect differs. Ask for the notch size before comparing two certificates. A notch does not care how good the certificate looks.
What the Inspection Record Should Contain
An inspection certificate is a document type before it is a result. EN 10204:2004 defines those types [8], and the two that appear on tube orders are 3.1 and 3.2. A 3.1 certificate is issued by the manufacturer’s independent inspection representative. A 3.2 certificate is issued by an independent body or by the purchaser’s representative. The difference is who signs, not how the tube was tested, and it matters when a customer’s own quality system requires external witness.
Inside the report, the useful entries are specific:
- The product standard and the exact part of the method standard applied
- The reference defect size and orientation used to set the alarm
- The acceptance level agreed for the order
- Instrument and probe identification, plus the drift-check record
- The operator’s qualification level under ISO 9712 [7]
- Heat number, dimensions and the disposition of any flagged length
One boundary is worth stating plainly. A positive material identification check, run by X-ray fluorescence or optical emission, confirms chemistry. It says nothing about a seam three millimetres below the surface, and a defect test says nothing about chemistry. Two different questions, two different records.
Buyers often treat a certificate as proof of the whole quality system, when it only describes one defined test on one defined batch. <How to Verify ISO Certification for Steel Tube Manufacturers> covers how to check the scope, the issuing body and the validity of a supplier’s certification rather than the logo alone.
Where 100% Testing Stops and Engineering Judgment Begins
Every method has a blind spot, and it is cheaper to know it before the order than after the claim. The limits that matter in steel tube work:
Orientation. A defect that runs parallel to the ultrasonic beam, or perpendicular to the eddy current path, can return a signal below threshold while remaining a genuine risk in service.
Size. Anything smaller than the reference defect is, by definition, outside the acceptance test. That is not a failure of the mill. It is what the agreed level means.
Depth. Eddy current testing does not see deep internal discontinuities, so a flawless-looking eddy current record is consistent with a mid-wall lamination.
Geometry. Tube ends, weld transitions and any change in cross-section disturb the field or the beam, which is why end treatment belongs in the specification.
Surface and coupling. Heavy scale, coating, or an interrupted water path degrades the signal in ways the operator may not notice until the drift check.
Write the acceptance level into the purchase order, state which part of the method standard applies, say whether tube ends are inside or outside the tested length, and ask for the reference defect details before the first tube is drawn. For critical orders, add a witness test or a second method rather than raising the percentage, because a second method answers a different question better than a higher number answers the same one.
Matching the Test to What Your Application Fails On
Send the tube size, the grade, the product standard and the acceptance level you need, together with the defect types you have actually seen in service and the inspection document type your customer requires. Those five items tell a mill whether eddy current, ultrasonic, or both will answer the question, and whether tube ends need separate treatment.
Tenjan produces cold-drawn seamless and welded tube from 10 mm to 108 mm outside diameter, runs eddy current and ultrasonic inspection against ISO 10893 and ASTM methods, and issues inspection documents traceable to the heat number. Email Sunny@tenjan.com or call +86 51988789990 and +86 13401309791 (WhatsApp on the same number) to discuss a specification before the order goes on the books.
FAQ
Does 100% testing mean a tube has no defects?
No. The percentage describes coverage of length and circumference, not the probability of catching everything. Detection depends on the reference defect that set the alarm, the orientation of the flaw, the wall depth the method can reach, and whether the tube ends were included. A 100% record is a strong statement about a defined test having been performed and passed. It is not a statement that no discontinuity exists anywhere in the steel.
Why does eddy current testing need magnetic saturation on carbon steel?
Carbon and low alloy steels are ferromagnetic, so small changes in permeability from stress, cold work or composition shift the coil signal far more than a real defect does. Applying a strong DC field saturates the wall and flattens those permeability swings, which lets the small impedance change from a seam or crack stand out. Without saturation, the noise floor can sit above the defect signal and the sensitivity you paid for disappears.
Can eddy current testing replace ultrasonic testing?
Not for internal work. Eddy current responds to surface and near-surface discontinuities and runs fast without a couplant, which suits full-length scanning of a moving tube. Ultrasonic testing reaches the wall volume and detects laminations, internal seams and thickness loss, but it needs coupling, a slower scan and the right probe angle. The two methods answer different questions, which is why mills run both rather than choosing the faster one.
What should an NDT report contain?
At minimum: the product standard and the applied method part, the reference defect size and orientation, the acceptance level, instrument and probe identification, the drift-check record, the operator’s qualification level, and the heat number with the disposition of any flagged length. If a report names a standard but omits the reference defect, you cannot tell what pass actually meant for that batch, and the document is harder to defend in a customer audit.
References
[1] ASTM E309, “Standard Practice for Eddy Current Examination of Steel Tubular Products Using Magnetic Saturation,” ASTM International, West Conshohocken, PA.
[2] ASTM E213, “Standard Practice for Ultrasonic Testing of Metal Pipe and Tubing,” ASTM International, West Conshohocken, PA.
[3] ISO 10893-11:2011, “Non-destructive testing of steel tubes, Part 11: Automated ultrasonic testing of the weld seam of welded steel tubes for the detection of longitudinal and/or transverse imperfections,” ISO, 2011.
[4] ISO 10893-1:2011, “Non-destructive testing of steel tubes, Part 1: Automated electromagnetic testing of seamless and welded steel tubes for the verification of hydraulic leaktightness,” ISO, 2011.
[5] ISO 10893-2:2011, “Non-destructive testing of steel tubes, Part 2: Automated eddy current testing of seamless and welded (except submerged arc-welded) steel tubes for the detection of imperfections,” ISO, 2011.
[6] ISO 10893-10:2011, “Non-destructive testing of steel tubes, Part 10: Automated full peripheral ultrasonic testing of seamless and welded (except submerged arc-welded) steel tubes for the detection of longitudinal and/or transverse imperfections,” ISO, 2011.
[7] ISO 9712:2021, “Non-destructive testing, Qualification and certification of NDT personnel,” ISO, 2021.
[8] EN 10204:2004, “Metallic products, Types of inspection documents,” CEN, 2004.
If you’re interested, check out these related articles:
Thin Wall Steel Tubing: When It Works and When It Fails
Heat Treated Steel Tube: What Engineers Need to Know
Carbon Steel vs Alloy Steel Tube: Which Material Works